Installing a clothes rail on the ceiling: a guide
Finding the right place
Before you start installing your clothes rail , you should make sure that the place where you want to install the rail is strong enough and that you have enough space to hang the rail. If you are unsure whether the ceiling in your room is suitable, you should definitely ask a professional for advice.
Prepare tools and materials
Once you have found the right place, you can start the actual installation process. First of all, you should have all the necessary tools and materials ready, including an installation kit (consisting of dowels and wall hooks) and a cordless screwdriver or drill.
Mark the position of the hole
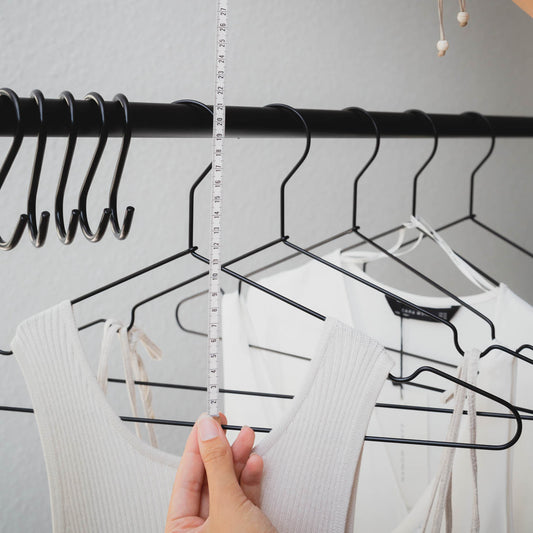
Next, you need to mark the position of the dowels on the ceiling. The best way to do this is with a pencil. To do this, measure the distance between the dowels using a ruler or tape measure as per the installation instructions. Once the positions of the dowels are marked, you can start drilling. Make sure you drill the dowels to the correct depth to ensure they hold well. To do this, you can make a mark on the drill using crepe paper, for example.
Insert dowel and screw in hook
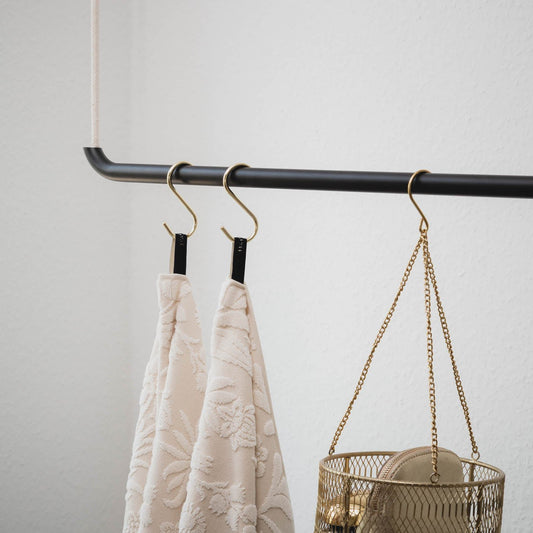
Now you can put the dowels in the hole. If you can't do this by hand, use a hammer. Then you can screw in the hooks and hang the clothes rail on them. Don't forget to shorten the rope to the right length beforehand if necessary.
Check stability
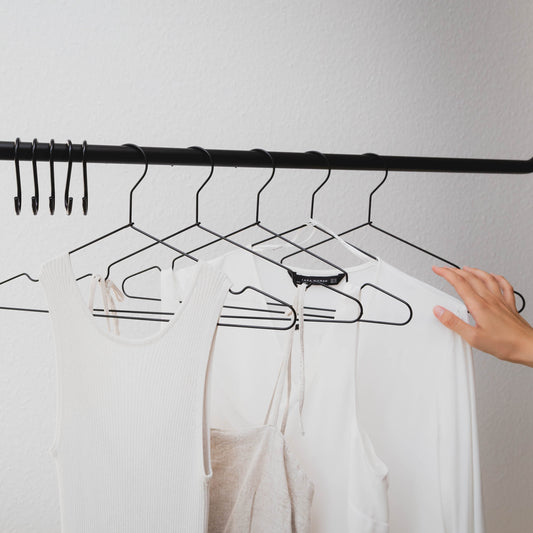
Once the rod is installed, you should check it thoroughly for stability before hanging your clothes on it.
Complete!
That's it! With these simple steps you can quickly and easily mount your new rod & knot clothes rail on the ceiling. We hope this post was helpful for you and wish you lots of fun hanging up your clothes!